Mastering Plotly Subplots: Tips, Tricks, and Hacks
Updated on
Data visualization is a critical aspect of data analysis and Plotly provides a powerful platform for creating interactive plots. One of the most versatile features of Plotly is the ability to create subplots, allowing for complex multi-panel figures. This article aims to demystify the process of creating subplots in Plotly, providing you with the knowledge to create, customize, and manipulate subplots to suit your data visualization needs.
Subplots in Plotly are a way to display multiple plots on a single figure, each plot residing in its own set of axes, known as a subplot. This feature is particularly useful when you want to compare or contrast different data sets side by side. In the following sections, we will delve into the specifics of creating subplots in Plotly, covering topics such as setting subplot titles, adjusting subplot sizes, and sharing axes between subplots.
Want to quickly create Data Visualization from Python Pandas Dataframe with No code?
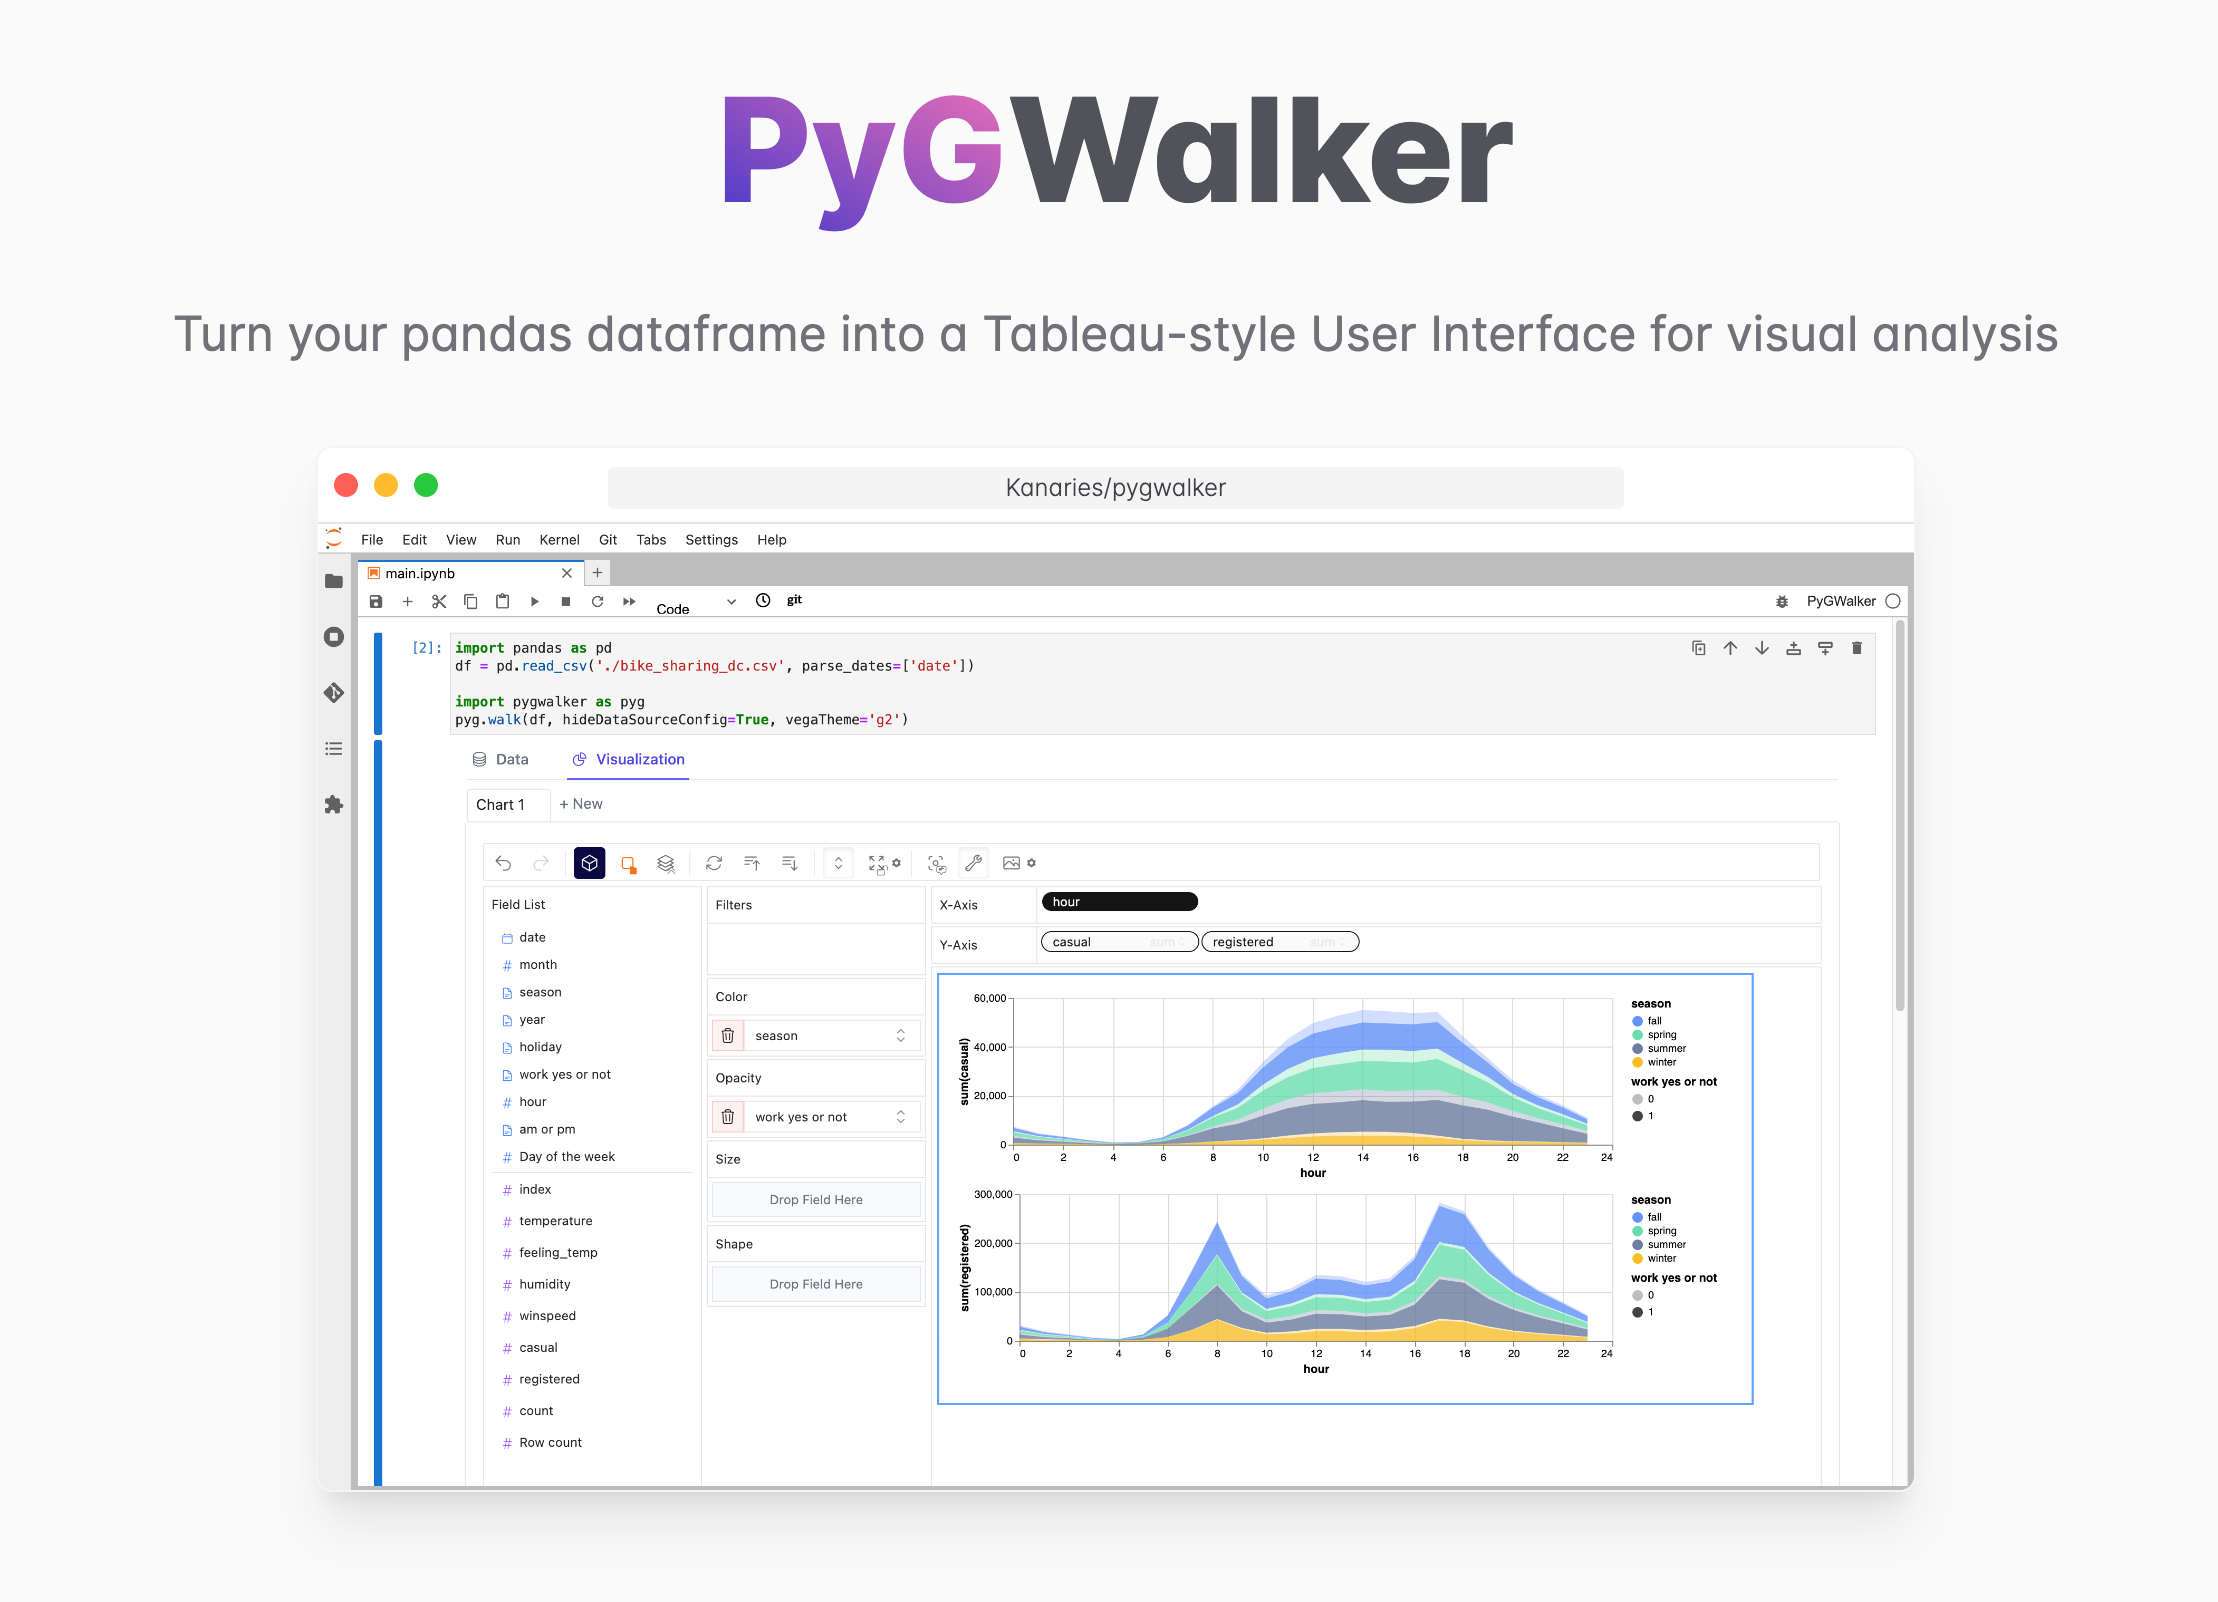
PyGWalker is a Python library for Exploratory Data Analysis with Visualization. PyGWalker (opens in a new tab) can simplify your Jupyter Notebook data analysis and data visualization workflow, by turning your pandas dataframe (and polars dataframe) into a tableau-alternative User Interface for visual exploration.
1: What are Subplots in Plotly?
Subplots in Plotly are individual plots that share a common figure or canvas. They are a powerful tool for data visualization, allowing you to display multiple related graphs in a single figure. This can be particularly useful when you want to compare or contrast different data sets side by side.
In Plotly, you can create subplots using the make_subplots function. This function allows you to specify the number of rows and columns in your subplot grid, effectively controlling the layout of your subplots. For example, if you want to create a figure with two rows and three columns of subplots, you would use the command make_subplots(rows=2, cols=3). This would create a grid with six subplots, arranged in two rows and three columns.
2: How to Make a Subplot in Plotly Python?
Creating subplots in Plotly Python involves a few key steps. First, you need to import the necessary libraries. You will need both plotly.graph_objects and plotly.subplots. The graph_objects module contains the plot types (like line graphs, scatter plots, bar graphs, etc.), while the subplots module contains the make_subplots function.
Here's a step-by-step guide on how to create a subplot in Plotly Python:
- Import the necessary libraries:
import plotly.graph_objects as go
from plotly.subplots import make_subplots- Create a subplot figure:
fig = make_subplots(rows=2, cols=1)- Add traces to the subplot figure:
fig.add_trace(go.Scatter(y=[4, 2, 1]), row=1, col=1)
fig.add_trace(go.Bar(y=[2, 1, 3]), row=2, col=1)- Show the figure:
fig.show()In this example, we created a figure with two subplots. The first subplot is a scatter plot and the second subplot is a bar plot.
3: How to Plot Multiple Graphs on Plotly?
Plotly makes it easy to plot multiple graphs on a single figure using the add_trace method. This method allows you to add a new plot (or "trace") to a specific subplot in your figure.
Here's an example of how to plot multiple graphs on Plotly:
1
. Import the necessary libraries:
import plotly.graph_objects as go
from plotly.subplots import make_subplots- Create a subplot figure:
fig = make_subplots(rows=1, cols=2)- Add traces to the subplot figure:
fig.add_trace(go.Scatter(y=[4, 2, 1]), row=1, col=1)
fig.add_trace(go.Bar(y=[2, 1, 3]), row=1, col=2)- Show the figure:
fig.show()In this example, we created a figure with two subplots side by side. The first subplot is a scatter plot and the second subplot is a bar plot. By specifying the row and column parameters in the add_trace method, we can control which subplot each graph is added to.
4: How to Set the Title for Each Subplot in Plotly?
Setting the title for each subplot in Plotly is a straightforward process. You can use the update_xaxes and update_yaxes methods to set the title for the x-axis and y-axis respectively. Here's an example:
- Import the necessary libraries:
import plotly.graph_objects as go
from plotly.subplots import make_subplots- Create a subplot figure:
fig = make_subplots(rows=1, cols=2)- Add traces to the subplot figure:
fig.add_trace(go.Scatter(y=[4, 2, 1]), row=1, col=1)
fig.add_trace(go.Bar(y=[2, 1, 3]), row=1, col=2)- Set the title for each subplot:
fig.update_xaxes(title_text="Scatter Plot", row=1, col=1)
fig.update_yaxes(title_text="Bar Plot", row=1, col=2)- Show the figure:
fig.show()In this example, we set the x-axis title of the first subplot to "Scatter Plot" and the y-axis title of the second subplot to "Bar Plot". This helps to clearly label each subplot and make the figure more informative.
5: How to Adjust Subplot Sizes in Plotly?
Adjusting the size of subplots in Plotly can be done using the specs parameter in the make_subplots function. The specs parameter takes a list of lists, where each list represents a row of subplots, and each item in the list is a dictionary specifying the configuration for that subplot.
Here's an example of how to adjust subplot sizes in Plotly:
- Import the necessary libraries:
import plotly.graph_objects as go
from plotly.subplots import make_subplots- Create a subplot figure with custom sizes:
fig = make_subplots(rows=2, cols=1, specs=[[{"height": 300}], [{"height": 500}]])- Add traces to the subplot figure:
fig.add_trace(go.Scatter(y=[4, 2, 1]), row=1, col=1)
fig.add_trace(go.Bar(y=[2, 1, 3]), row=2, col=1)- Show the figure:
fig.show()In this example, we created a figure with two subplots of different sizes. The first subplot has a height of 300 pixels, and the second subplot has a height of 500 pixels.
Frequently Asked Questions
-
What are subplots in Plotly? Subplots in Plotly are individual plots that share a common figure or canvas. They allow you to display multiple related graphs in a single figure.
-
How do you make a subplot in Plotly Python? You can create subplots in Plotly Python using the
make_subplotsfunction from theplotly.subplotsmodule. You can then add traces to the subplot figure using theadd_tracemethod. -
How do you plot multiple graphs on Plotly? You can plot multiple graphs on a single Plotly figure by adding multiple traces to the figure using the
add_tracemethod.
