How to Convert .ipynb to HTML Effortlessly
Updated on

Jupyter Notebooks are perfect for mixing code, narrative, and visual output—but sometimes you need a plain web page you can email, host, or embed in a documentation site. Converting your .ipynb file to standalone HTML is the fastest way to make your notebook viewable in any browser, with zero dependencies on Python or Jupyter for the reader.
Below you’ll find:
- A free, privacy‑first online converter (no sign‑up, no data leaves your browser)
- A step‑by‑step CLI tutorial that works with any standard Jupyter install—no extra tools required
- One‑click export options in JupyterLab, VS Code, and Google Colab
- A quick look at alternative web converters
- FAQs and troubleshooting tips
Part 1 | Convert .ipynb to HTML Online (Free)
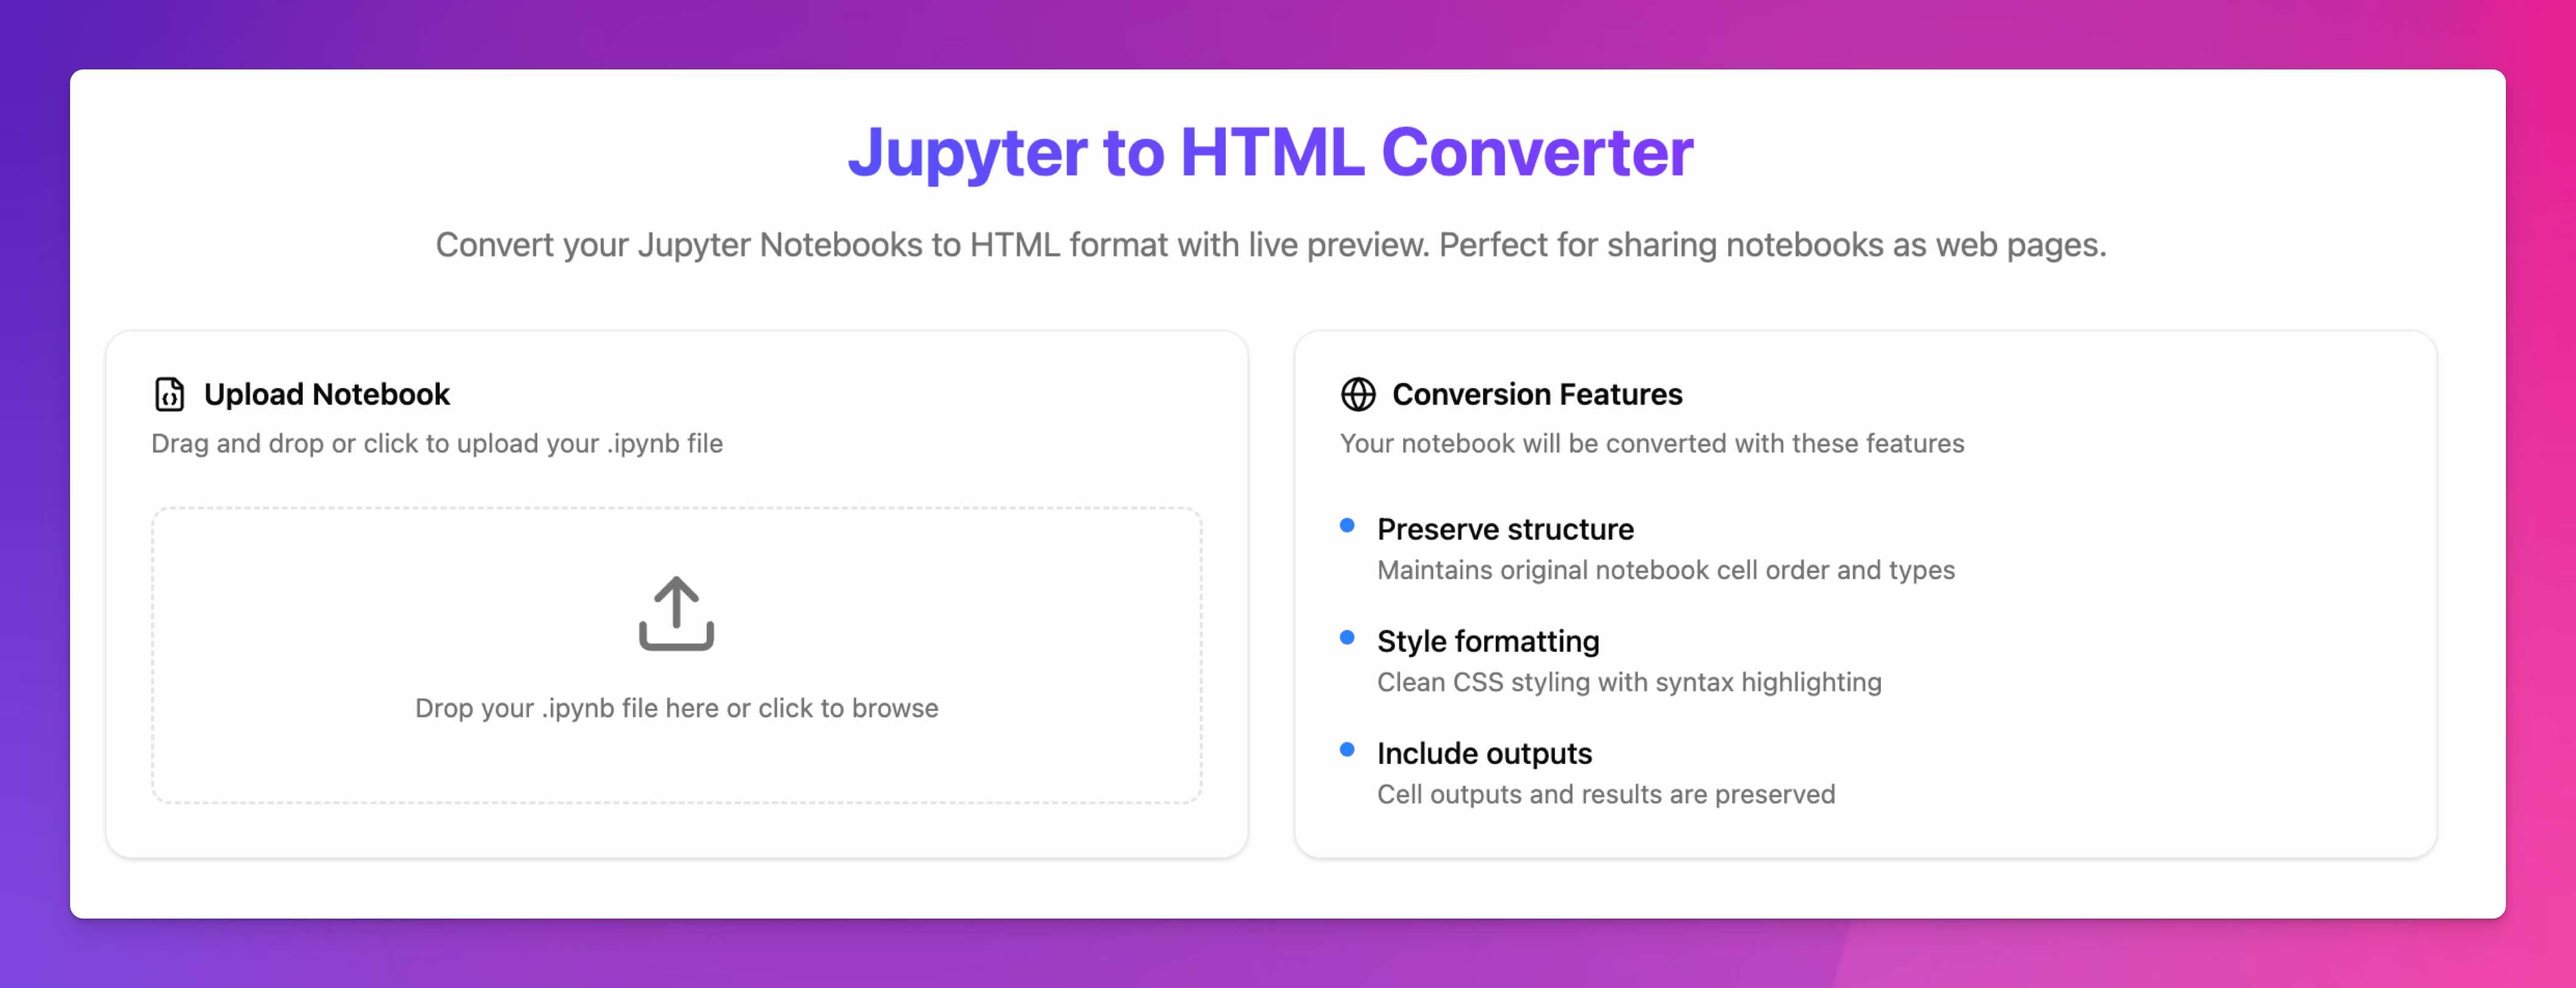
Runcell’s Online ipynb → HTML Converter
Why Runcell?
- Browser‑only workflow – conversion happens entirely in your browser; the file never touches a server ([runcell.dev][1])
- Syntax‑highlighted code & outputs preserved in a neat, mobile‑friendly template ([runcell.dev][1])
- Free & unlimited – no file‑size paywalls or watermarks
Step‑by‑Step
-
Open the tool in any modern browser:
runcell.dev/tool/ipynb-to-html -
Upload your notebook
- Drag‑and‑drop the
.ipynbfile, or - Click “Upload Notebook” and choose the file
- Drag‑and‑drop the
-
Wait a few seconds – you’ll see a live preview once the conversion finishes
-
Click “Download HTML” (or the download icon) to save the file
-
Share or host the resulting
*.html—it’s a self‑contained page with embedded CSS, JavaScript, and images, so it works offline
Tip: Runcell embeds plots as base‑64 images, so Matplotlib/Seaborn charts render exactly as they did in the notebook.
Part 2 | Convert with Jupyter nbconvert (No Extra Tools)
If you already have Jupyter installed, you don’t need any new packages—the built‑in nbconvert utility can create HTML in one command:
jupyter nbconvert --to html your_notebook.ipynbDetailed Steps
- Open a terminal (Command Prompt, PowerShell, or Bash)
cdinto the folder containing your notebook- Run the command above
- You’ll find
your_notebook.htmlin the same directory
nbconvert ships with Jupyter Notebook, JupyterLab, and Anaconda distributions by default, so it usually “just works” ([Nbconvert][2], [Stack Overflow][3]).
Part 3 | Export Directly from the Jupyter UI
Inside JupyterLab or the classic Notebook interface:
File → Download as → HTML (.html)
Jupyter quietly calls nbconvert under the hood and downloads the HTML file for you ([Saturn Cloud][4]).
Part 4 | VS Code One‑Click Export
- Open the
.ipynbin VS Code’s built‑in notebook editor - Click the • • • (More Actions) menu
- Select Export → HTML
- Choose a save location
No extensions required—the Jupyter extension bundled with VS Code handles the conversion.
Part 5 | Google Colab Workflow
Colab does not (yet) have a first‑party HTML export button. The easiest path is:
- File → Download → Download
.ipynb - Use Runcell or
nbconvertlocally to turn that notebook into HTML
Part 6 | Other Free Online Converters (Quick Look)
| Tool | Notable traits |
|---|---|
| Vertopal | Choose HTML4/HTML5, tweak margins and templates ([Vertopal][5]) |
| CoolUtils | Very simple three‑click workflow, no sign‑in ([CoolUtils][6]) |
| TheOnlineConverter | Embeds static plots & images; small file‑size limit ([Online Converter][7]) |
Runcell remains the most privacy‑friendly because processing happens client‑side.
FAQs
1. Why choose HTML over PDF?
HTML is responsive, searchable, and easier to embed in blogs or dashboards. It also preserves interactive widgets (to a limited extent) and supports copy‑pastable code blocks.
2. Will interactive JavaScript widgets (Plotly, ipywidgets) still work?
Runcell and nbconvert embed widget JavaScript when possible. Fully interactive Plotly plots usually work; complex ipywidgets may degrade to static output.
3. How do I automate bulk conversions?
Use nbconvert in a loop:
for f in *.ipynb; do jupyter nbconvert --to html "$f"; done
4. My HTML file is huge—how can I shrink it?
Large inline images inflate file size. In the notebook, call plt.savefig(..., dpi=80) or convert images to .jpg before export.
